Centrally deploy email signatures to Outlook New or Outlook On The Web
This article will walk you through creating and deploying email signature templates to Outlook New or Outlook On The Web clients. Organizations can use this approach to deploy Outlook signatures as if they were deploying a standard application using Microsoft Intune.
Although the WPSecure Personalization Packager primarily creates silent installers for Outlook signature templates for Outlook Classic, this article focuses on using it with Outlook New and Outlook on the Web. Download the packager by clicking the button at the top right of this page.
Although not within the scope of this article, WPSecure Personalization Packager can create silent installation packages for desktop backgrounds, Outlook signatures, video screensavers, and lockscreen images. Click on the link below if you would rather read an article that includes all the personalization above items.
Azure Function App and Exchange Online
WPSecure will invoke an Azure Function App and Exchange Online to set the default signature for ‘Outlook on the Web‘ and ‘Outlook New Users‘.
The WPSecure Signature processing engine will make Certificate-Based API Calls to the Azure function. Click on the link below to read the setup instructions.
Azure Function Apps/Exchange Online content, security, and setup are outside the scope of WPSecure package support and licensing. This integration is provided for convenience and interoperability with other cloud infrastructures. If you have any issues with Azure Function Apps or Exchange Online, please reach out to Microsoft Support.
Azure Function App is a commercial service provided by Microsoft. Still, it is affordable with a generous free grant with the Consumption plan, which includes approximately 250000 free monthly executions (Microsoft’s Azure Function App Pricing Page).
Interactive user sync will lead to fewer Azure Function executions than automatic syncs because automatic syncs happen every 8 hours or if the signature content changes.
After you complete the above setup, please proceed with the Package creation.
Create the Signature templates
Use Microsoft Office Word to create Outlook email signatures in HTM & RTF formats and Notepad to create an email signature in TXT format.
Within the email templates (HTM, RTF, and TXT), insert placeholders that will act as markers into which user attributes like ‘FirstName,’ ‘LastName,’ ‘Email,’ ‘Address,’ etc. will be substituted.
There are three types of Microsoft Outlook signatures:
- New message signature (Outlook Classic Client).
- Reply message signature (Outlook Classic Client).
- Web message signature (Outlook On The Web / Outlook New).
Use the following guidelines when designing and creating the Outlook email signature templates for the ‘New, ‘‘Reply, ‘and ‘Web‘ signatures.
The total file size of each Outlook signature and its assets cannot exceed 10 MB, and we recommend keeping the number of characters for HTM files below 25,000 for New/Reply signatures and 8000 for web signatures.
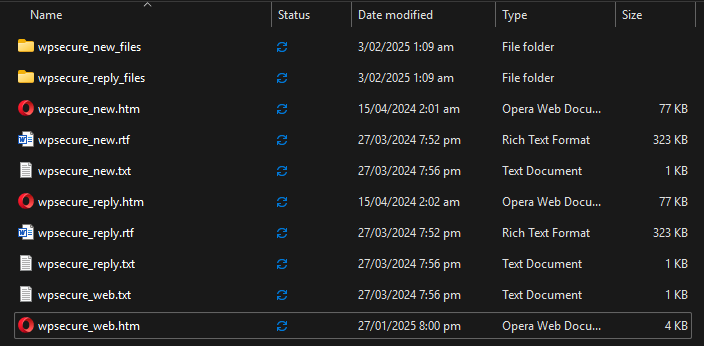
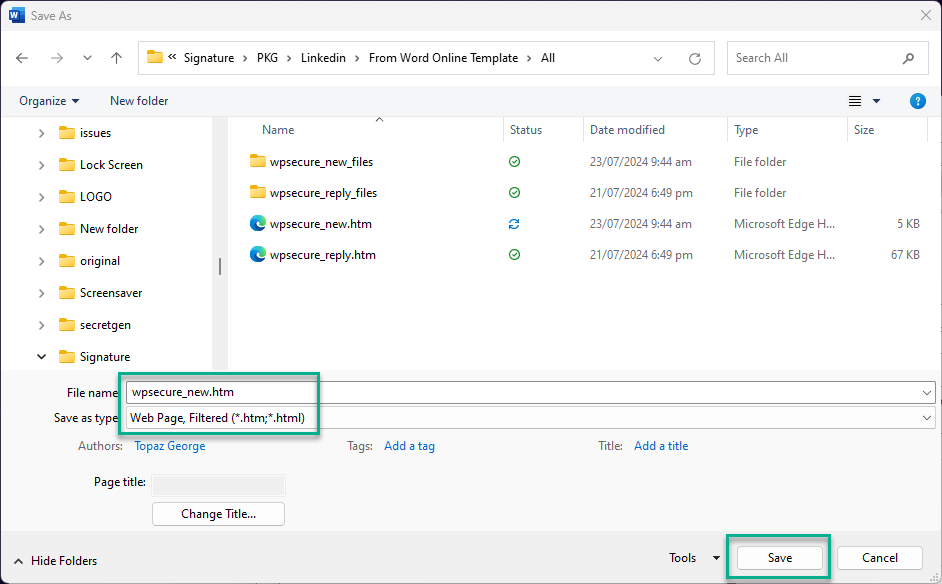
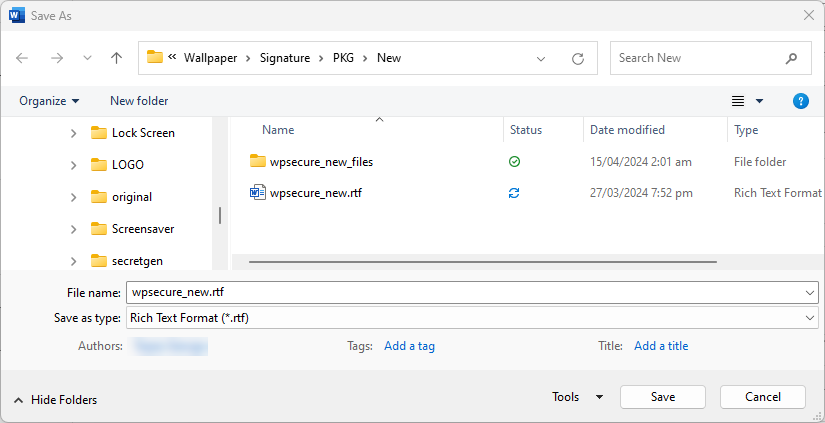
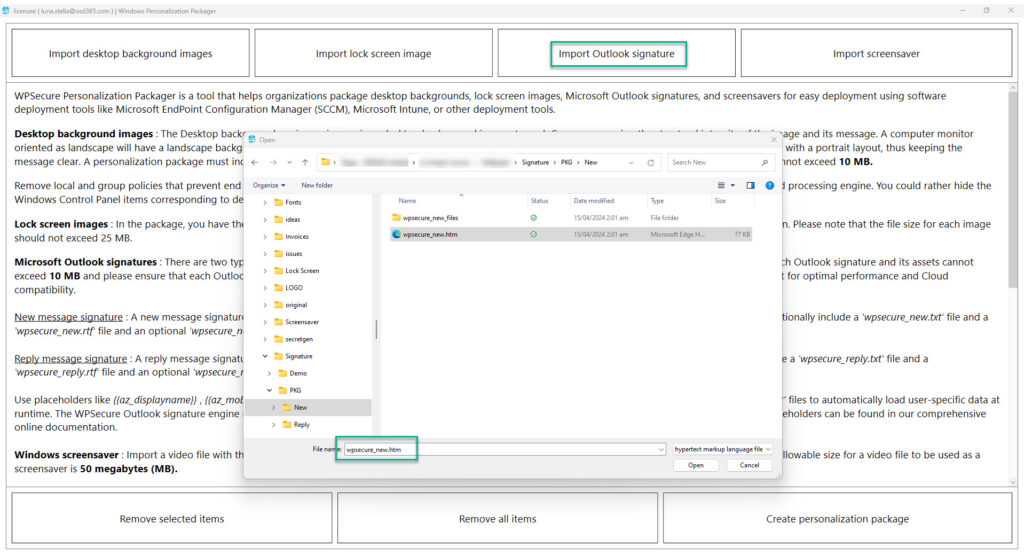
New message signature: A new message signature is used when composing a new Microsoft Outlook message. It should include a ‘wpsecure_new.htm’ HTML file and optionally include a ‘wpsecure_new.txt’ file, a ‘wpsecure_new.rtf’ file, and an optional ‘wpsecure_new_files’ directory that contains resource files like images, CSS, etc.
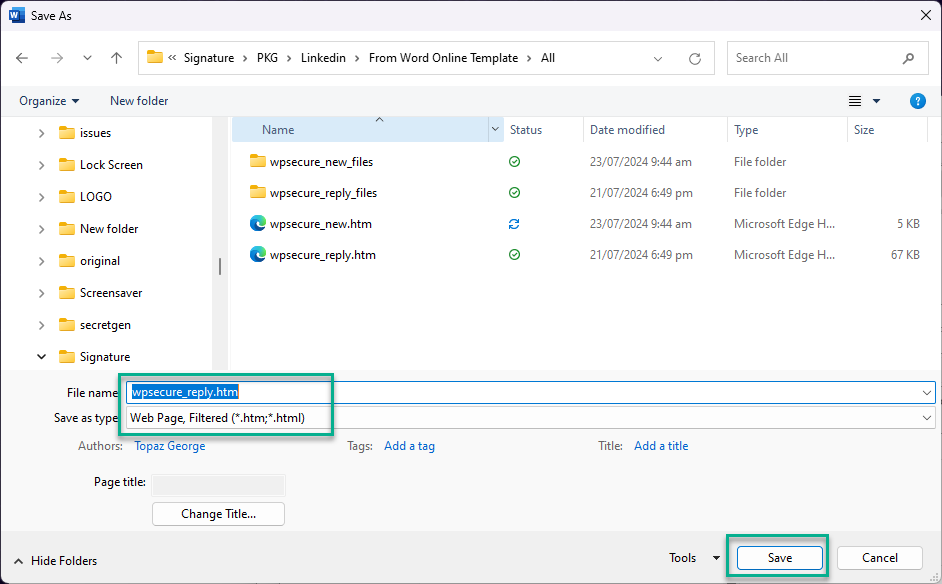
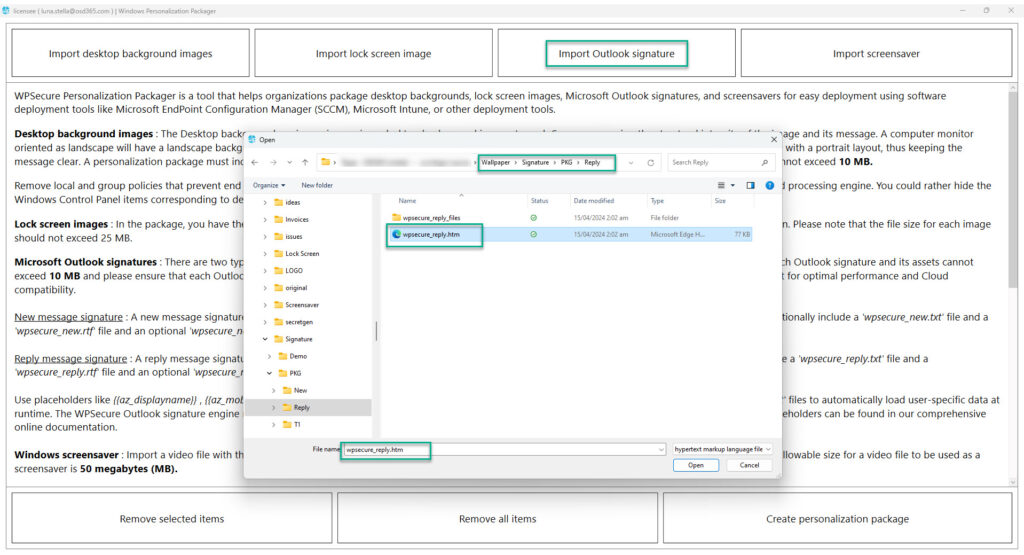
Reply message signature: A reply message signature is used when replying to an email message. It should include a ‘wpsecure_reply.htm’ HTML file and optionally include a ‘wpsecure_reply.txt’ file, a ‘wpsecure_reply.rtf’ file, and an optional ‘wpsecure_reply_files’ directory that contains resource files like images, CSS, etc.
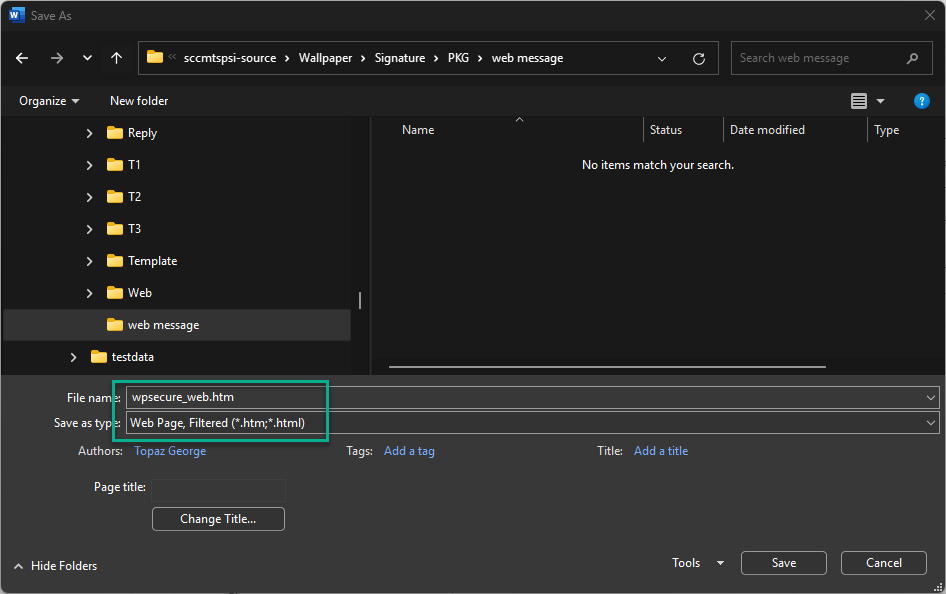
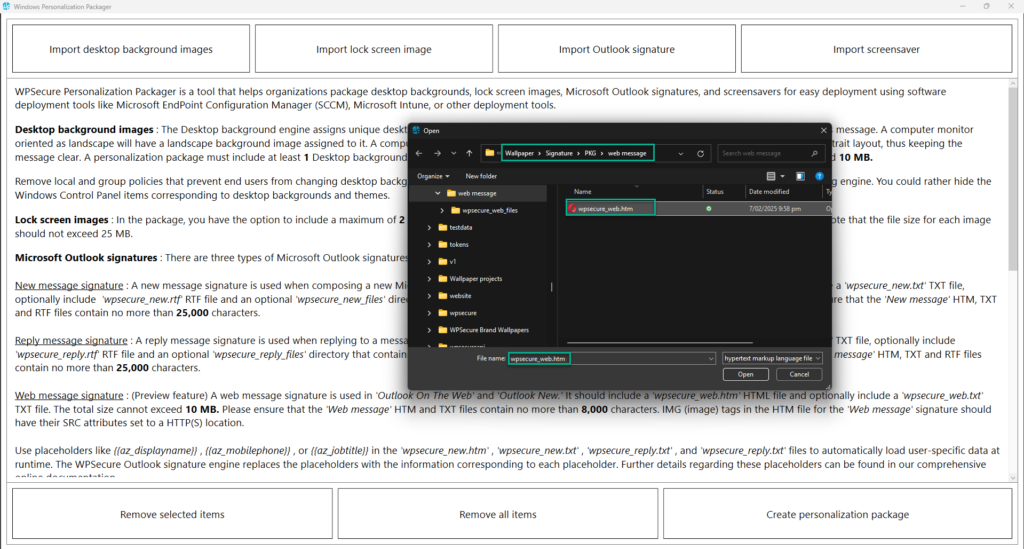
Web message signature: A web message signature is used by ‘Outlook On The Web/Outlook New.’ It should include a ‘wpsecure_web.htm’ HTML file and optionally include a ‘wpsecure_web.txt’ file. All image references should use URL (https) sources. Local image references cannot be used.
The email signature template folder will look similar to the image below.
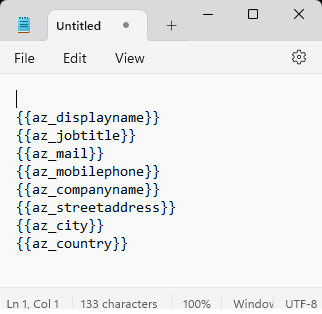
Place holders for user attributes
Use placeholders like {{az_displayname}}, {{az_mobilephone}}, or {{az_jobtitle}} in the ‘wpsecure_new.htm’,‘wpsecure_new.rtf’, ‘wpsecure_new.txt’, ‘wpsecure_reply.htm’, ‘wpsecure_reply.rtf’, ‘wpsecure_reply.txt’, ‘wpsecure_web.htm’, and ‘wpsecure_web.txt’ files to load user-specific data at runtime automatically. The WPSecure Outlook signature engine replaces the placeholders with the information in the registry corresponding to each placeholder.
Outlook signatures can be created in the following formats: HTM format is required, but RTF and TXT formats are optional.
HTM format (Outlook Classic, Outlook On The Web and Outlook New) |
RTF format (Outlook Classic only) |
TXT format (Outlook Classic, Outlook On The Web and Outlook New) |
Read step-by-step setup information here ==> https://wpsecure.shop/documentation/
!! We recommend creating a ‘Text’ file containing all required placeholders. Never type the placeholders directly into the tools that create the HTM or RTF files; always copy and paste them from the ‘Text’ file into those tools. !!
Outlook signature in HTM format
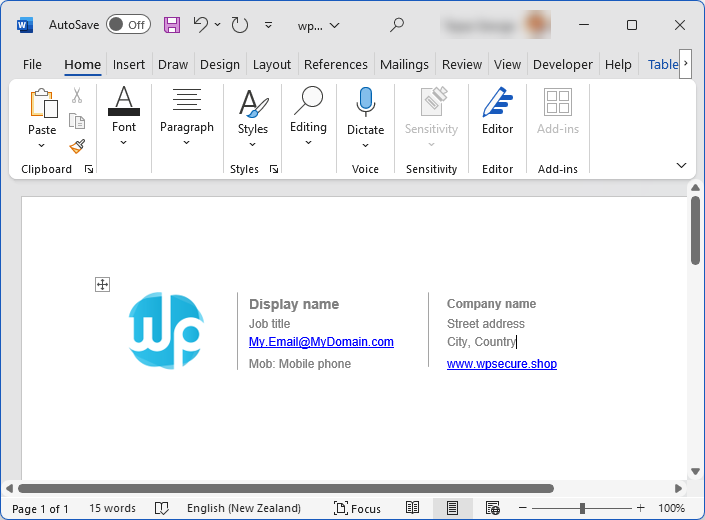
Multiple ways exist to create an HTM file (an HTML file with an HTM extension). The most basic but fairly effective tool for creating an HTM signature is Microsoft Word.
Design your content in Microsoft Word and save the file as an HTM file.
Replace the relevant user attributes with placeholders from the placeholder text file.
Important:
- Right-click and copy the placeholder from a text file
- Point-click on the place where we want to paste the content
- Paste the placeholders to the right spot.
- Please do not edit the placeholders after pasting them.
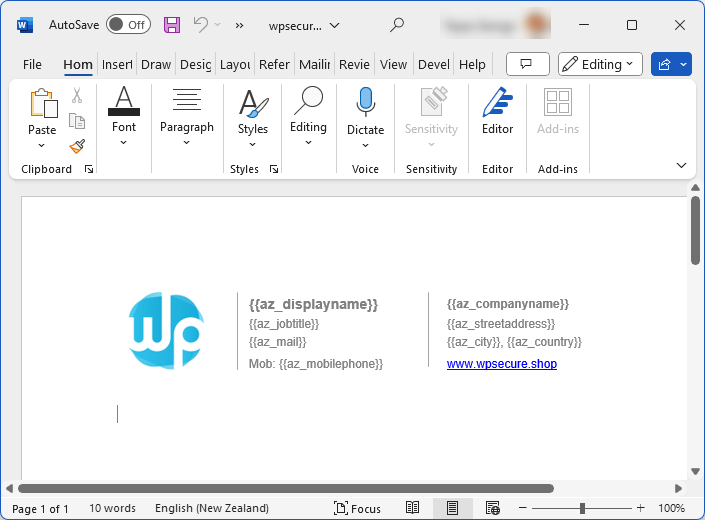
Finally, save the signature as an HTM file. Do this for ‘New,’ ‘Reply,’ and ‘Web‘ message signatures. Open the newly created HTM file and cautiously remove unnecessary lines that do not add value to the signature template.
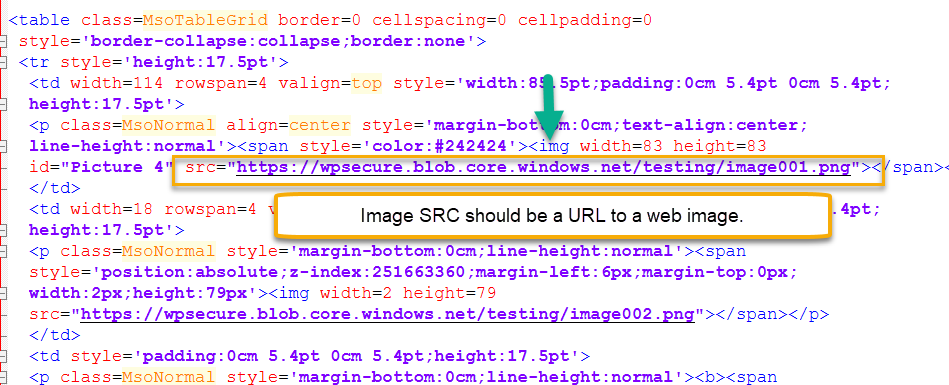
Note: Outlook signatures in web format should have SRC values for images using a URL for an online image. Outlook web signatures cannot have more than 8000 characters.
Outlook signature in RTF format
The RTF signature format is optional. The Outlook Classic client uses this signature if the mail edit format is set to ‘Rich Text Editor.’
Follow the instructions for creating an Outlook Signature in HTM format. Save the file in RTF format. Replace the relevant user attributes with placeholders from the placeholder text file. Do this for ‘New‘ and ‘Reply‘ message signatures.
Important:
- Right-click and copy the placeholder from a text file
- Point-click on the place where we want to paste the content
- Paste the placeholders to the right spot.
- Please do not edit the placeholders after pasting them.
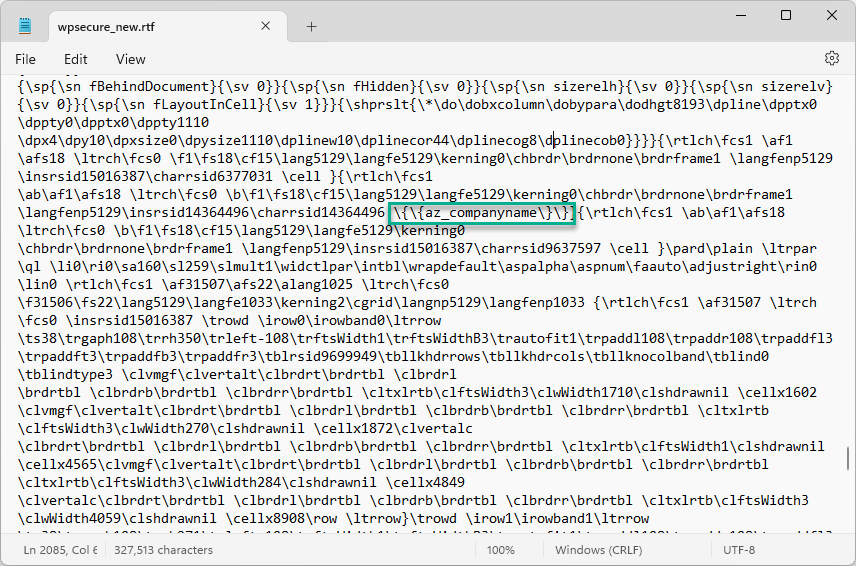
Open the RTF file in Notepad and verify if the placeholders are intact. Check for spaces and new-line characters. Search for the placeholders (without the curly brackets). If you cannot find them, something has gone wrong.
You will find a ‘\’ before each curly bracket ‘\{‘ and the entire string, including the curly brackets, will be in the same line.
Example: \{\{az_companyname\}\}}
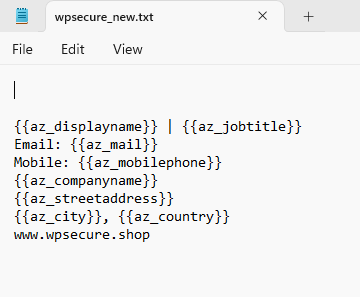
Outlook signature TXT format
Creating an Outlook Signature in a TXT format is straightforward. Use Microsoft Notepad to create your template. Do this for ‘New,’ ‘Reply,’ and ‘Web’ message signatures. Save the file as ‘wpsecure_new.txt,’ ‘ wpsecure_reply.txt,’ or ‘wpsecure_web.txt.’
Creating the Personalization Package.
Before you read this article, download and install the Windows Personalization Packager by clicking on the “Download” button in the top right corner of this screen.
Open the Personalization Packager from the start menu. After installing the Packager, you will see two items on the start menu.
- WPSecure personalization Packager.
- WPSecure Campaign Manager.
Open the Personalization Packager from the start menu. After installing the Packager, you will see two items on the start menu.
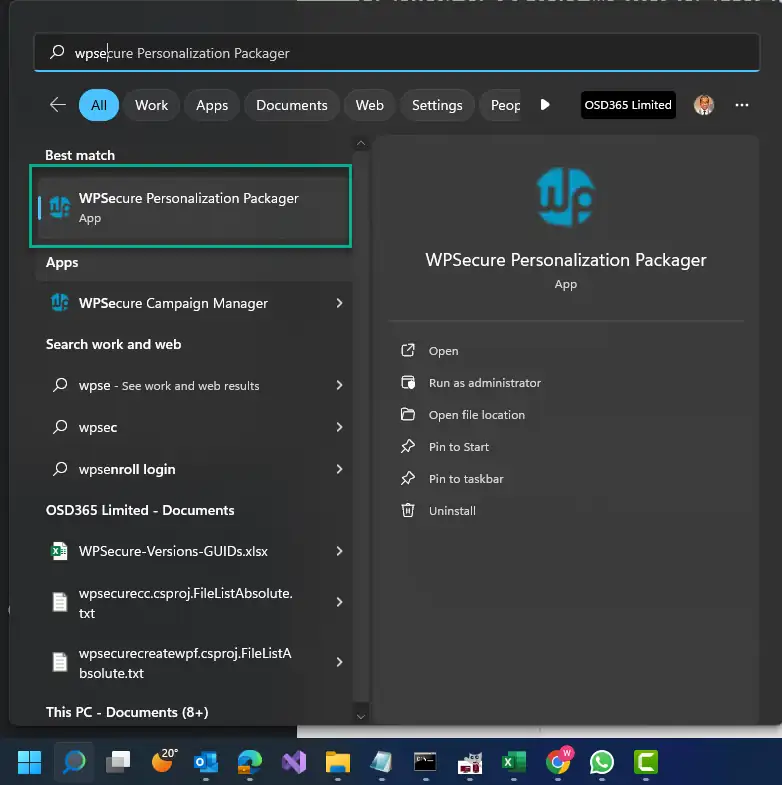
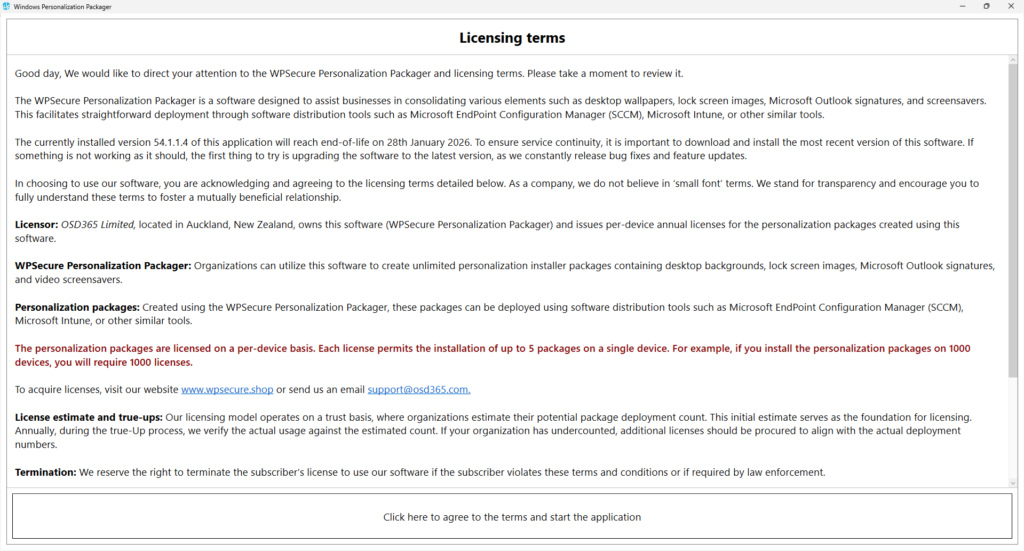
Click on the item called “WPSecure Personalization Packager.” Doing so will open the Packager in full-screen mode. Click the button at the bottom to agree to the terms and enter the application.
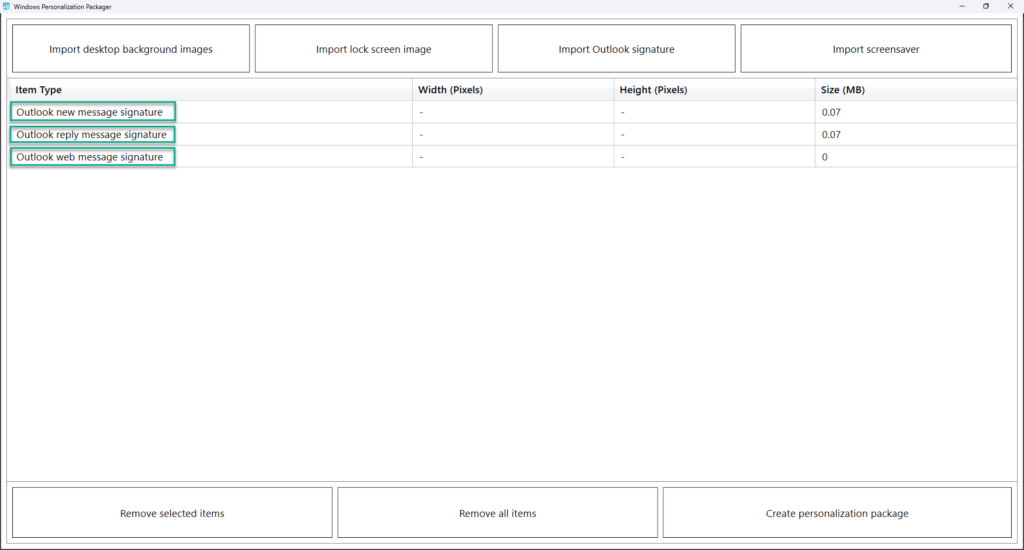
You will land on the following page. The buttons on the application’s top help the user add the following items.

After adding the new, reply and Web message signatures, the application window will look similar to the one below. You can preview the items by clicking on them.
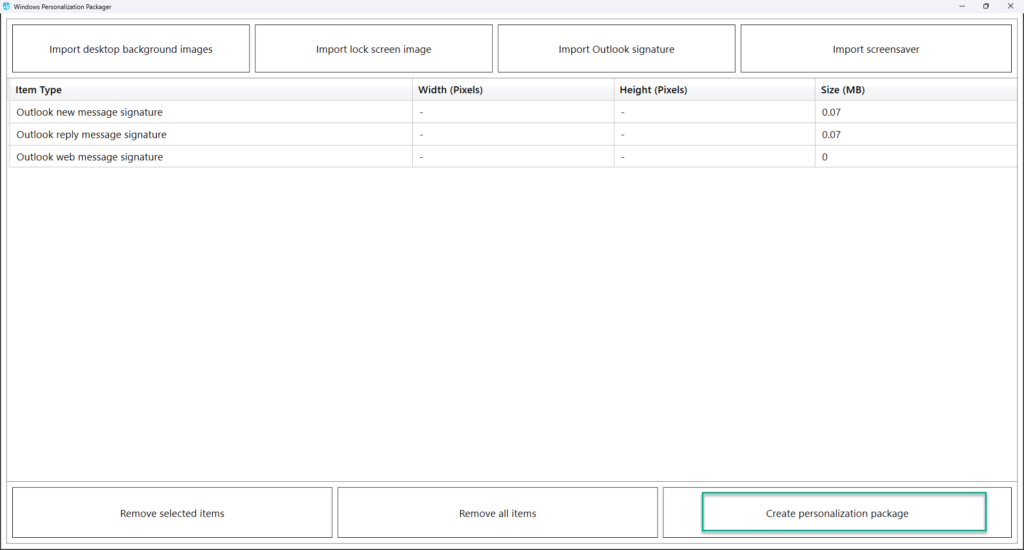
After adding the necessary Personalization items, click the “Create Personalization Package” button to start the package creation process.
Note: WPSecure Packages can also contain Desktop wallpapers, lockscreen images, and video screensavers. For this article, we are only focusing on Outlook mail signatures.
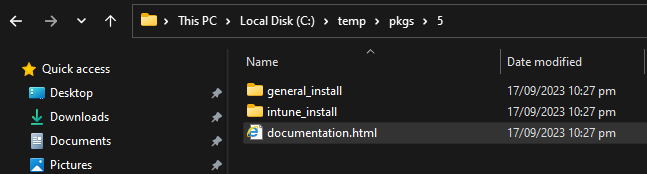
Use this button to export the personalization package to a folder. A personalization package is a collection of all the settings and files you have imported or created for your desktop backgrounds, Outlook signatures, and screensavers. The selected destination folder has to be empty. The personalization package creation process creates two folders: general_install and intune_install.
The general_install folder contains installation files for deployment via enterprise software management tools like Microsoft Endpoint Configuration Manager (SCCM). Run the ‘wpsecure-install.exe’ to install the personalization package. More details regarding the enterprise installation and uninstallation process are in the ‘documentation.html’ file.
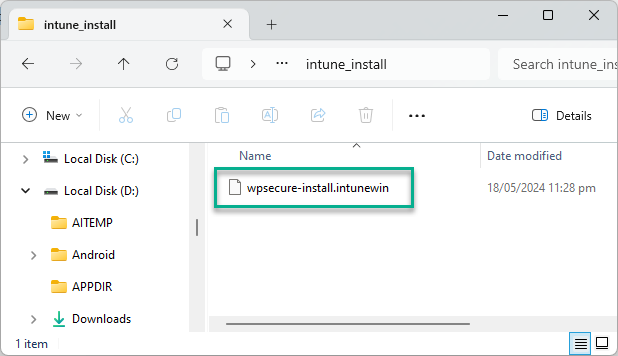
The intune_install folder contains the ‘wpsecure-install.intunewin’ file to be uploaded to the Microsoft Endpoint Device Management portal (Intune). The command-line for this is identical to the general install.
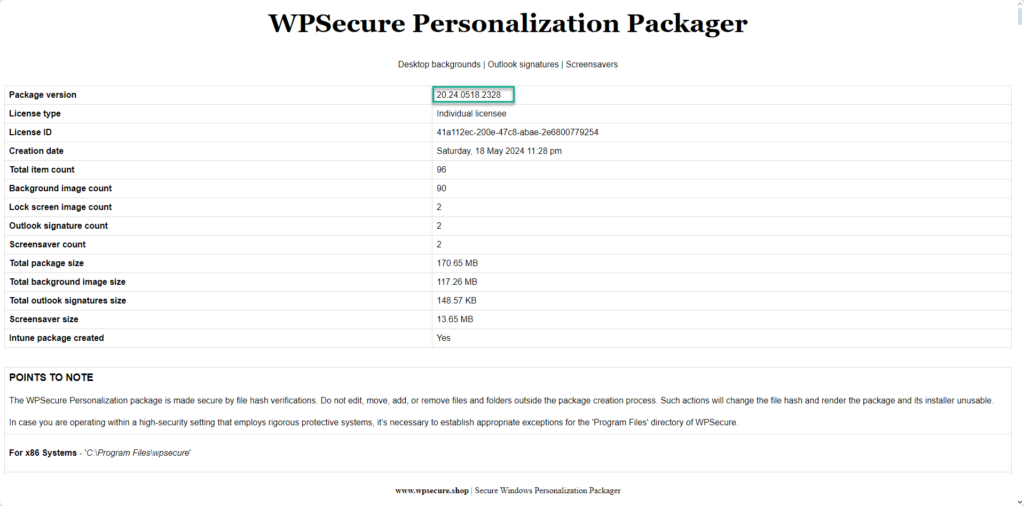
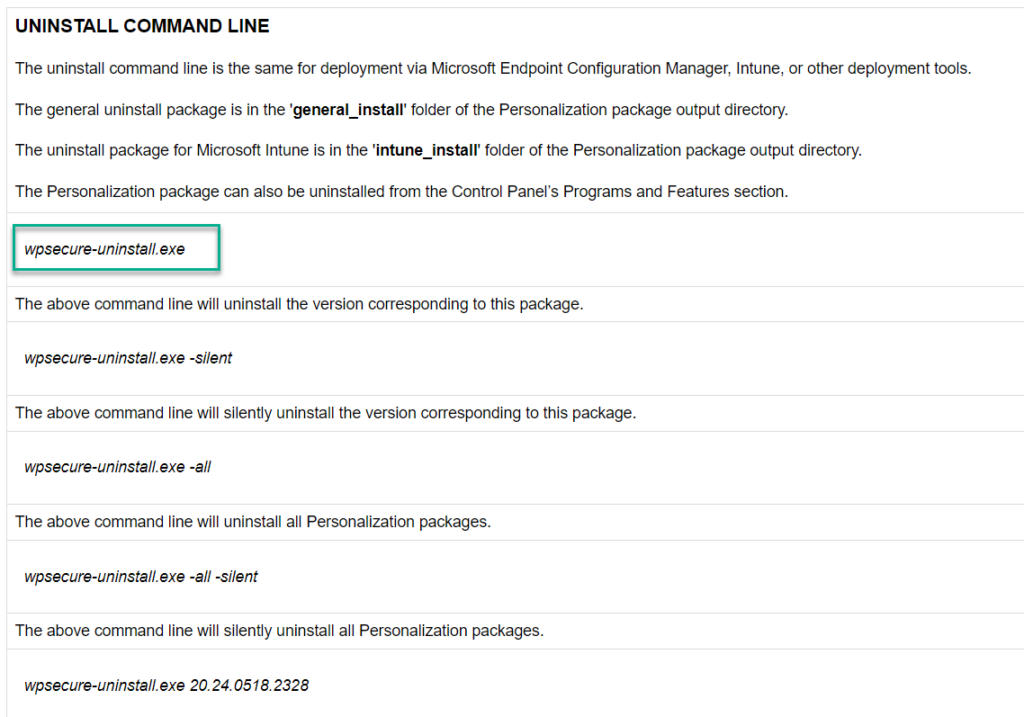
The process also creates a ‘documentation.html’ file that provides all the information required to deploy the personalization package, like package version, install command line, uninstall command line, and detection methods.
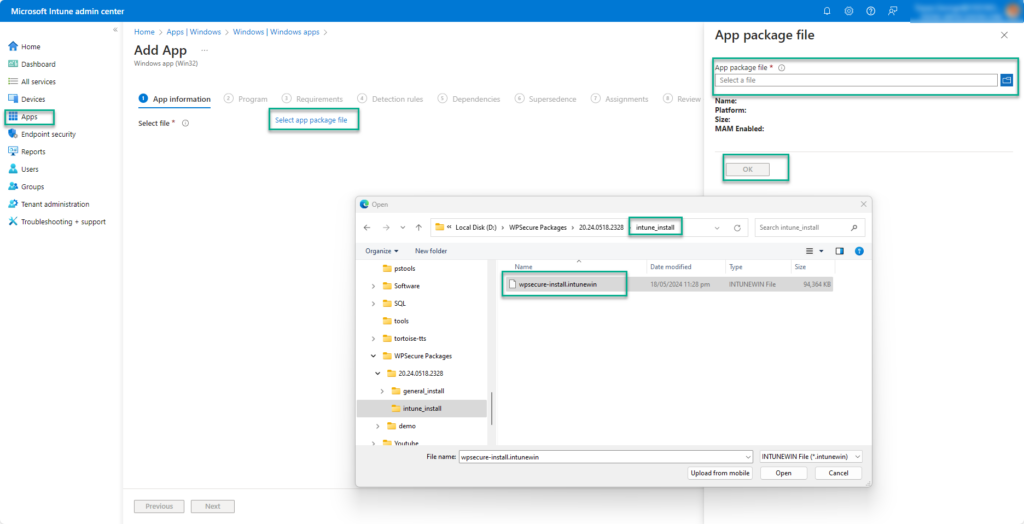
This article will only discuss deployment via Microsoft Intune. Open the “intune_install” folder. Inside the folder, you will find the ‘wpsecure-install.intunewin‘ file that will be uploaded to Intune.
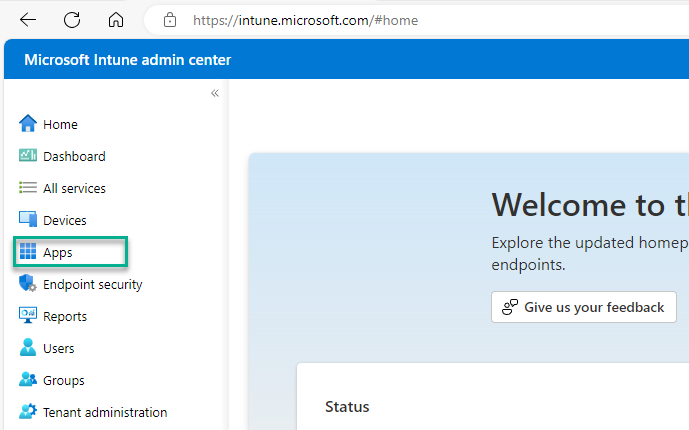
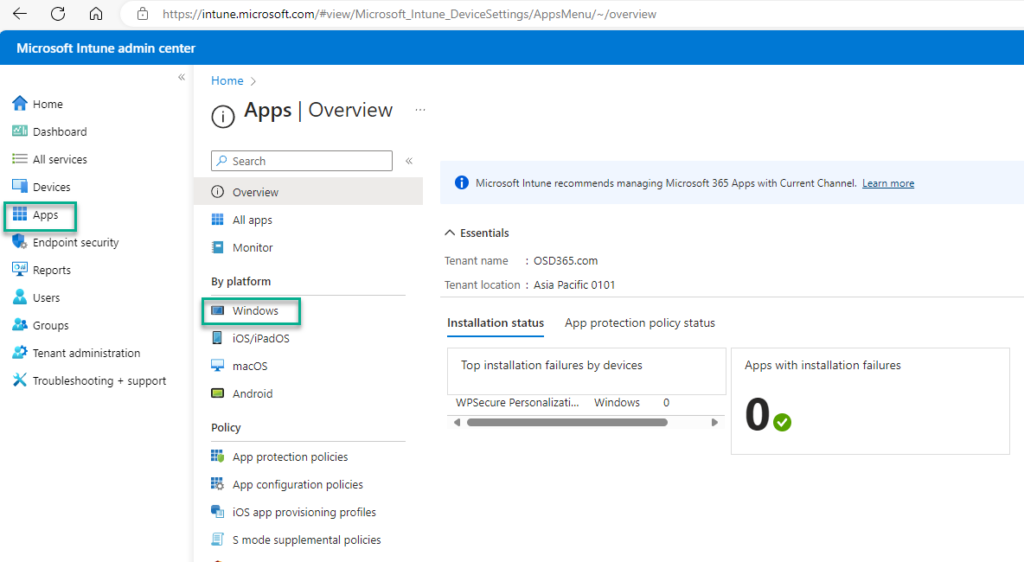
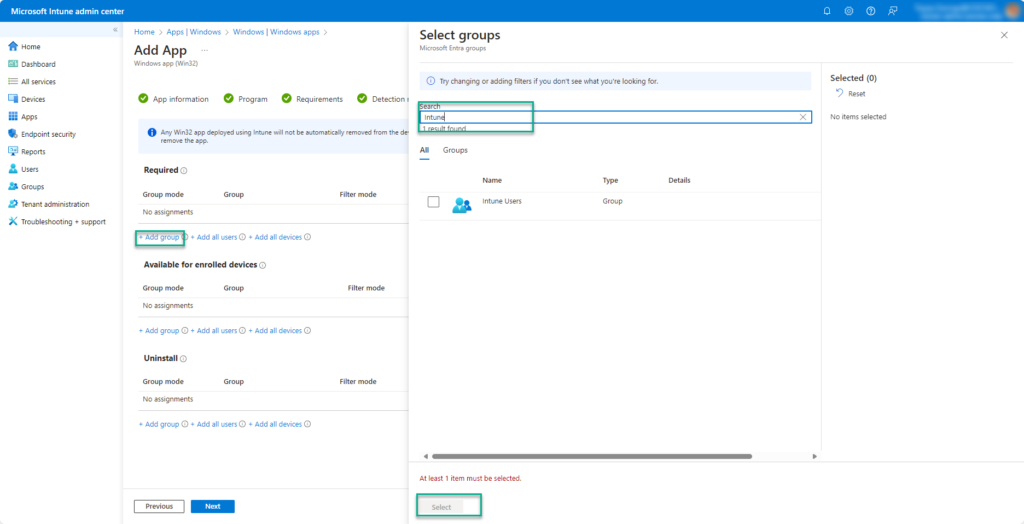
Open Microsoft Intune Admin Center and click on “Apps” and then choose “Windows Apps”.
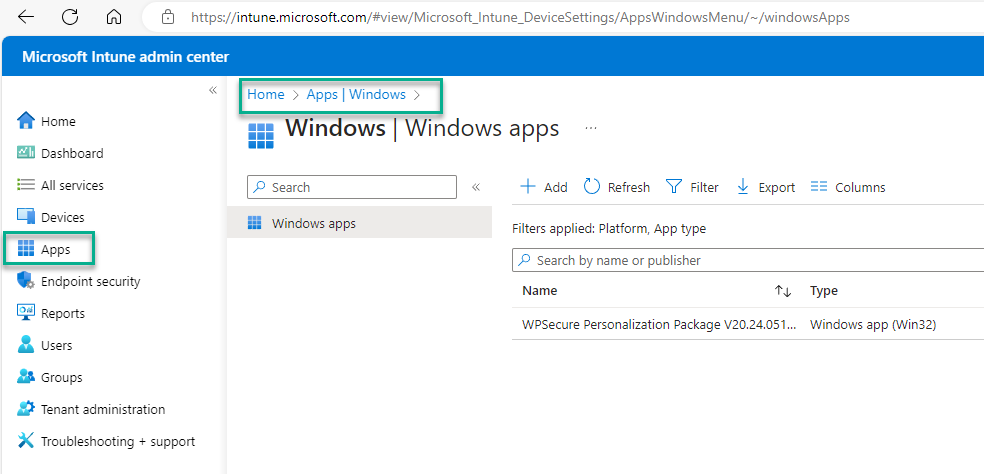
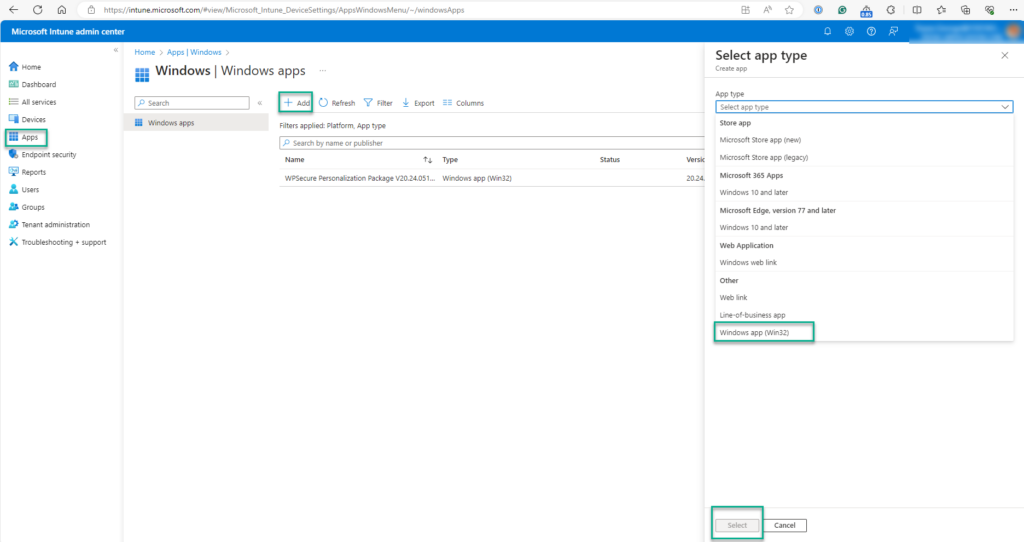
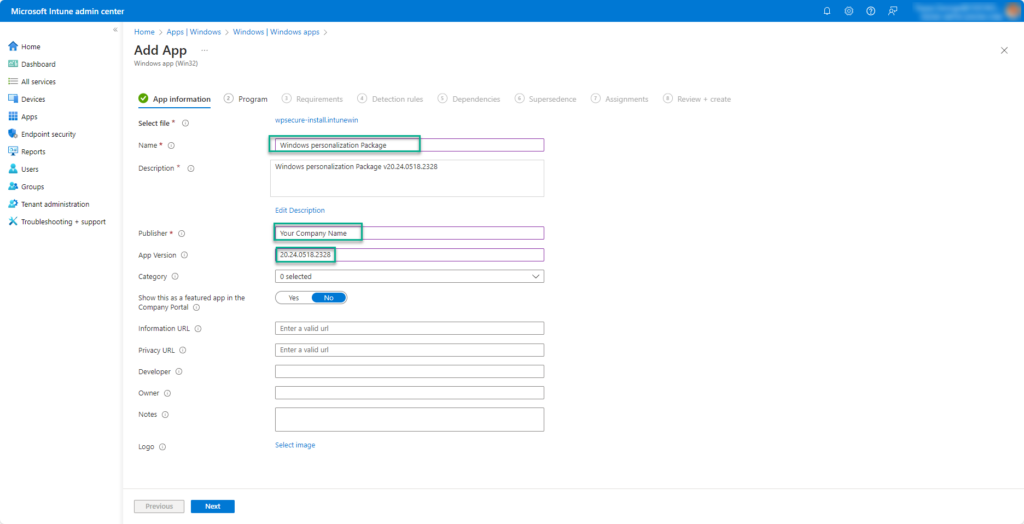
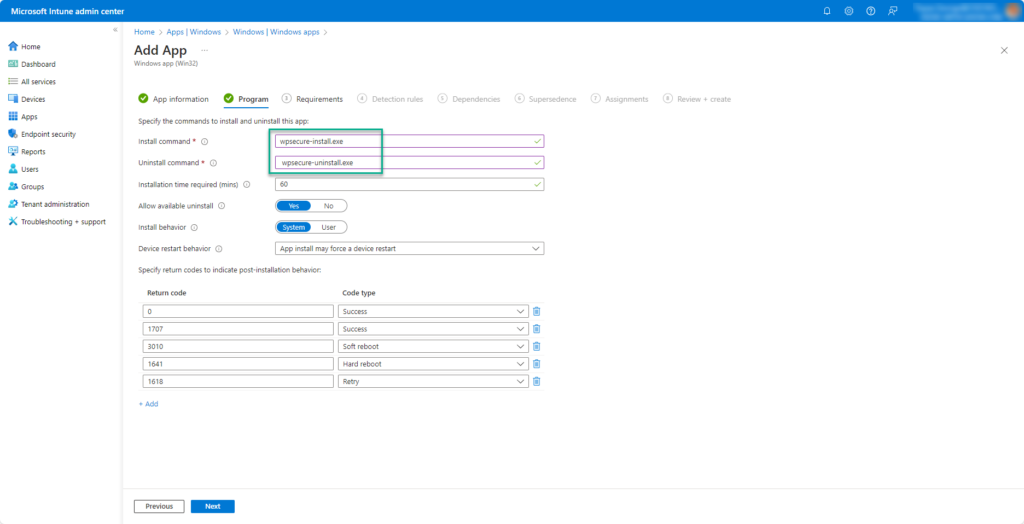
Use the “+ Add” button to create the Intune Win32 App deployment. Follow the images below to get through the first steps of the setup process.
The ‘documentation.html’ file provides all the information required to deploy the personalization package, like package version, install command line, uninstall command line, and detection methods.
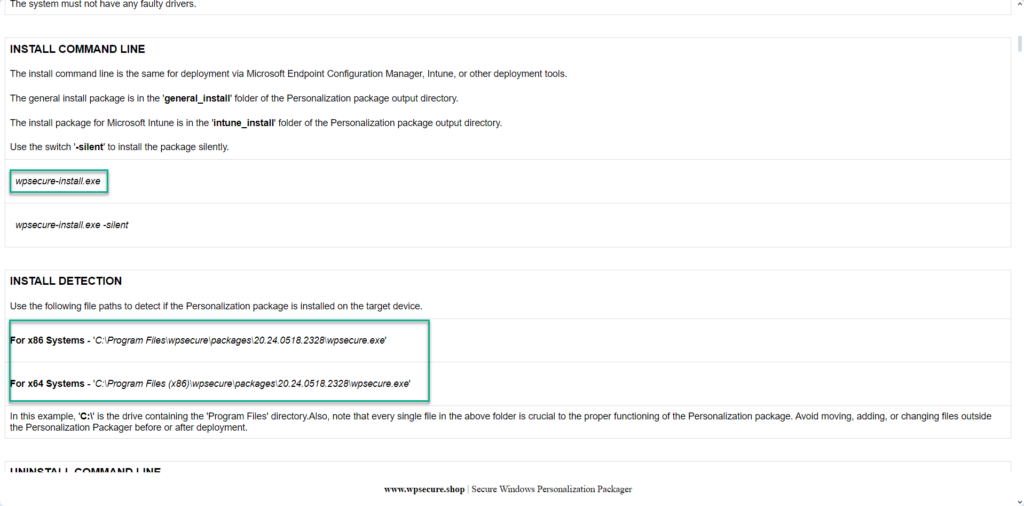
Using the above information, fill out the Intune Win32 application setup form.
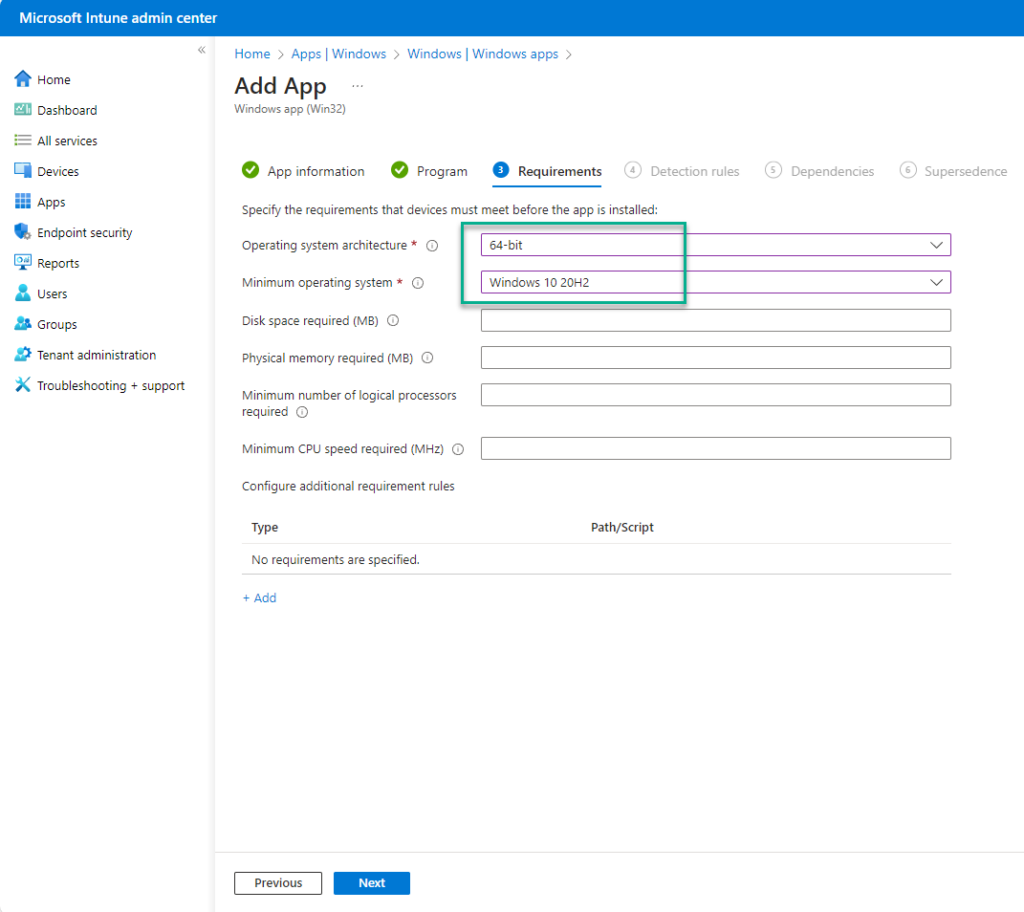
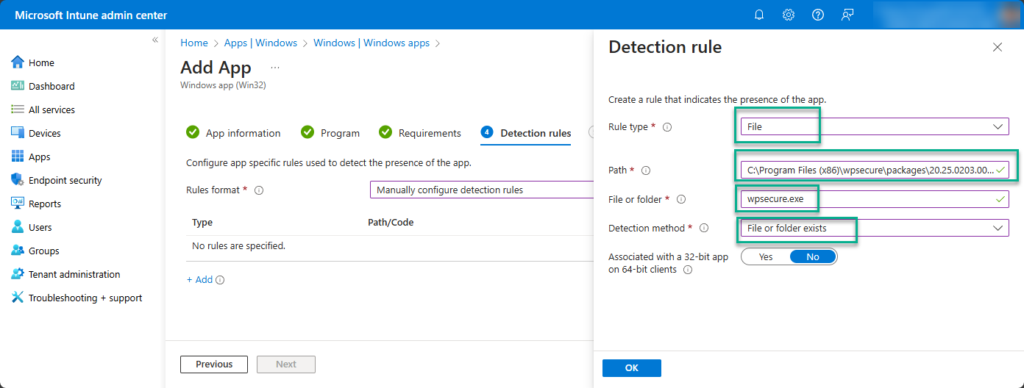
Click Next and complete the process. Wait for Microsoft Intune to upload and set up your Windows Personalization package.
Remember that you can install up to 5 personalization packages on each device. Use the WPSecure campaign manager to schedule the start, stop, and priority of each deployed personalization package.
To summarize, you can add the following items to the package.
- Add one or more Desktop background images for landscape and portrait screens. While you are not required to add images for all possible screen resolutions, the more extensive the collection of image sizes is, the better the user experience will be.
- Add two Lock screen images, one for Landscape and optionally another for Portrait Screens.
- Import a “New message” Signature, a “Reply message” Outlook signature, and a ‘Web message” signature.
- Add MP4 video file for Windows Screensaver. You can add a video for Landscape screens and a video for Portrait screens.
Click here to read more about the Windows Personalization Packager.